Many adults have never learned how to ride a bicycle in their lives. However, it’s never too late to pick up one of the most environmentally friendly modes of self-transportation. While it requires a lot of preparation, some well-practiced techniques, and maybe a few tumbles here and there, anyone can learn how to ride a bicycle with the right steps.
Below are six steps for how to ride a bicycle:
1. Start biking on a flat surface
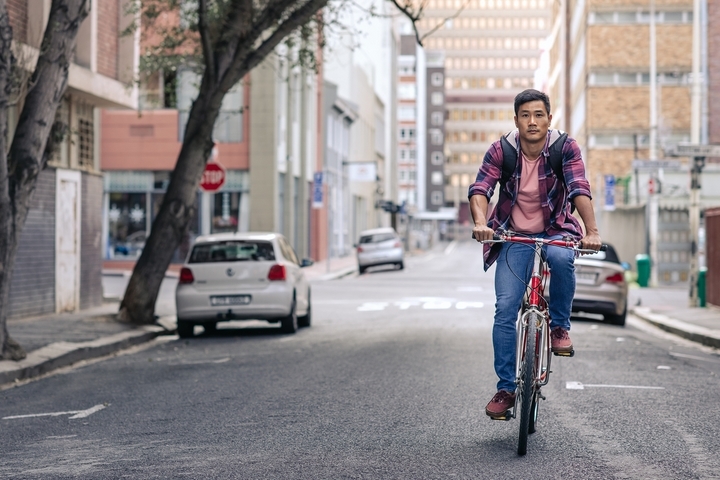
Begin your cycling journey on a flat surface, such as a sidewalk, a quiet road, or a park trail. Don’t pick an area with slopes, so that your falls are shorter and you will have an easier time balancing and coming to a stop.
You can also use surfaces like short grass and smooth gravel. Falling here will hurt less, although these surfaces may force you to pedal harder for moving the bike.
2. Adjust the bike seat appropriately
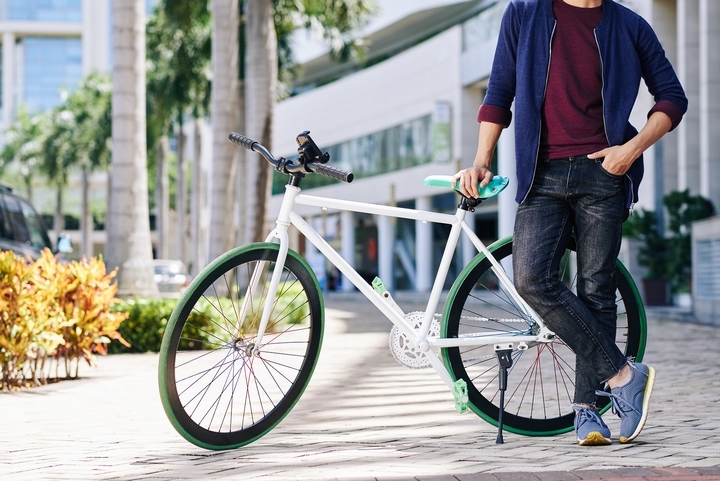
Adjust your bike seat appropriately for whoever is riding. This person should be able to put both of their feet flat on the ground. A low seat allows you to stop yourself with your feet, which is helpful if you are about to fall.
Adults do not need to use training wheels (hopefully not!), but young children can use them to help them get more acquainted with cycling. It is possible to remove the pedals to keep them out of the way.
3. Test the brakes to make sure they are safe
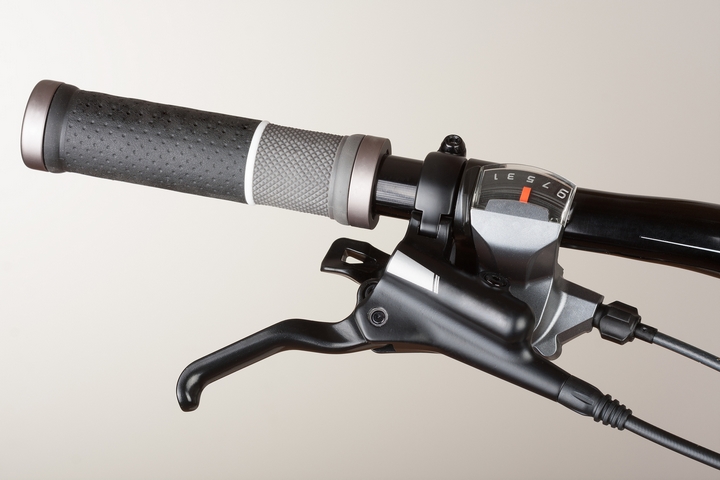
Do you understand how the brakes work on the bicycle? It’s good to make sure you know how to brake before you start cycling. Before you embark, push the brake buttons to familiarize yourself with their location and how they function. Once you have learn how to use the brakes, you will feel more comfortable when you need to make an emergency stop.
Some brakes are placed on the handlebars. You should test each one to determine which controls the front and the rear wheel. If your bike does not have brakes on the handles, the brakes should be placed on the backpedal instead. In order for you to break, you should press on the pedal closest to the back end of the bike.
If you have a fixed gear bike that hasn’t been modified, then your bike has no brakes. As an alternative to braking, you should slow the pace of your pedalling before coming to a stop.
4. Start gliding your bicycle
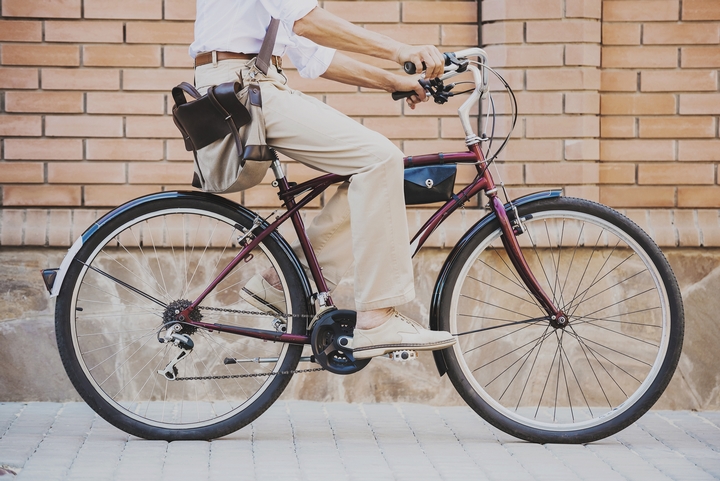
Don’t be hasty when you get on the bike. Remember that you are still a beginner and it’s best to take your cycling in a slow methodical manner. Instead of pedalling, start by pushing yourself with your foot. Tuck your foot in an upwards position before placing them onto the pedals.
Once you start moving, you should maintain the balance on the bike for as long as possible. When you feel your bike tipping on either side, catch yourself on time by placing one foot firmly on the ground. When you are steady again, repeat the process and push yourself again.
5. Start pedalling your bike
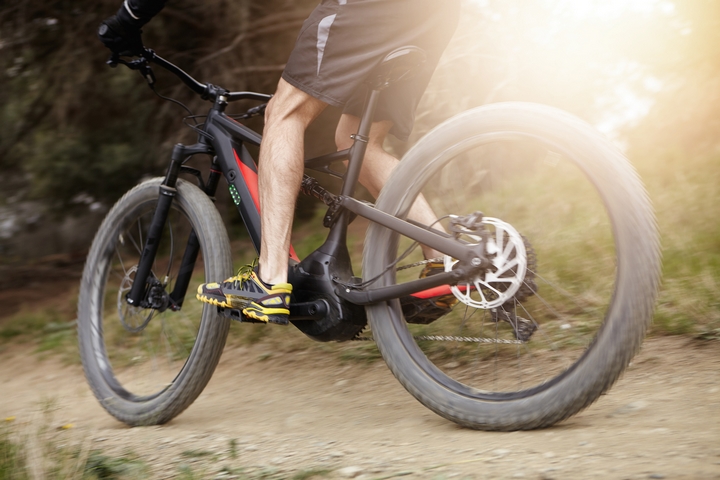
Once you get into a good momentum, start pedalling your bike with one foot on the ground. As for your other foot, it should be placed flat on the bicycle pedal.
Push off, put your foot on the pedal, and begin cycling. You should keep this rhythm going. It’s easier to balance when you are going in a faster speed, but just make sure you don’t go so fast that you lose control of yourself.
6. Keep your eyes on the road
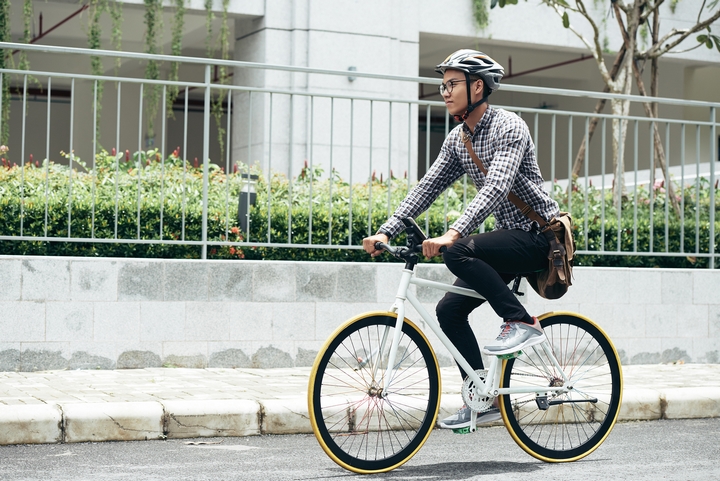
Whenever you are cycling, you should be mindful of any obstacles up ahead. That’s why it is so important to concentrate on looking ahead at where you want your bike to go. It may take some practice to train yourself in avoiding distractions, but you’ll learn how to avoid road hazards and obstacles soon enough.
If you are helping a child learn how to ride a bike, make sure you are extra careful about your surroundings. Both you and your child should keep your eyes on the road to ensure maximum safety.


